Use this handy guide to quickly start using your Reseller Hosting or you can watch our introduction video.
Step 1: Creating a service package
Before you can create a hosting package, you should create a service package. This service package will set the limits of the hosting package. The service package will thus determine how much disk space will be available, how many mailboxes can be created, and so on.
A few seconds later, your new service package is active and you can use it to create an account.
Step 2: Creating a hosting package
Once the service package is created, you can create a hosting package.
A few seconds later, you can start using your new account. A temporary name, through which you can check this account, will also instantly be linked to it. This is how you can find this name:
Follow these steps in the control panel :
- Go to “Reseller”.
- Select “Accounts” in the menu on the left and click on the triple-dot button to the right of the account and then on “Hosting management”.
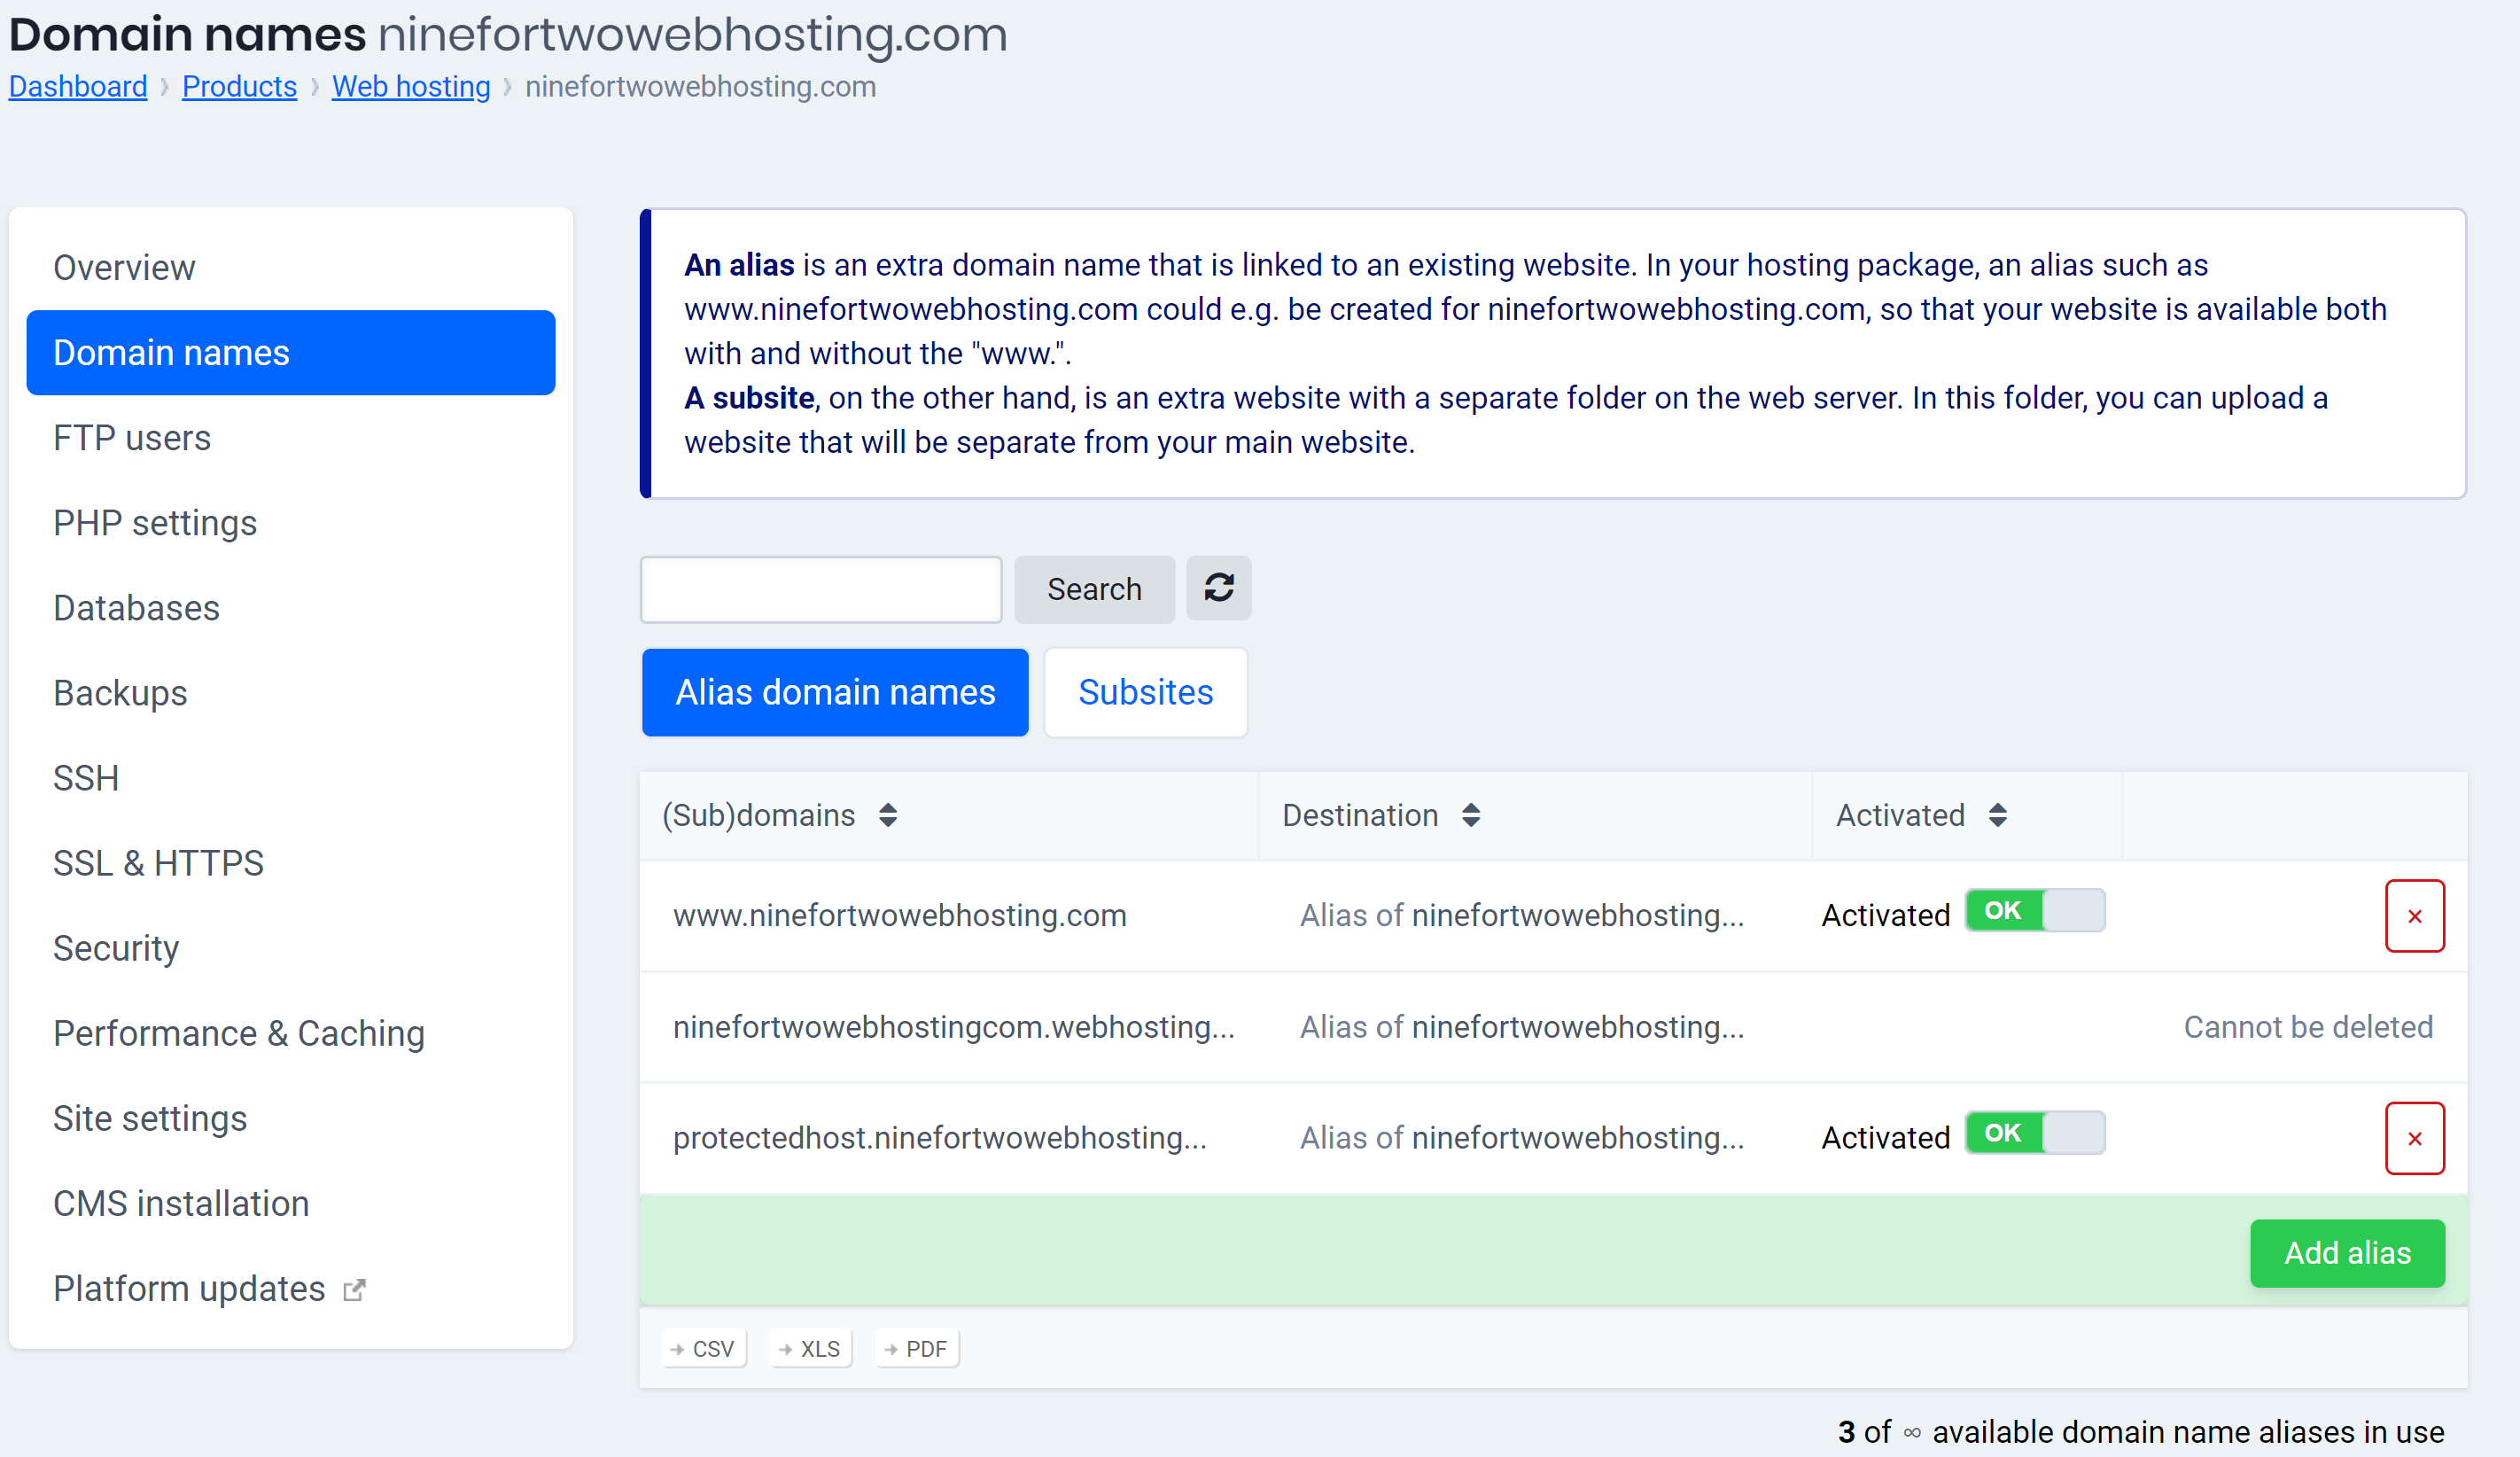
- Click on “Domain names & SSL” in the menu on the left.
This then concerns a temporary URL in the form of ‘domain namebe.webhosting.be’. You can use this to view the content of the hosting package as long as the effective domain name is not linked to it.
Step 3: Linking the domain name to the hosting account
Once the hosting account is active, you will undoubtedly want to have the domain name redirected to this hosting account.
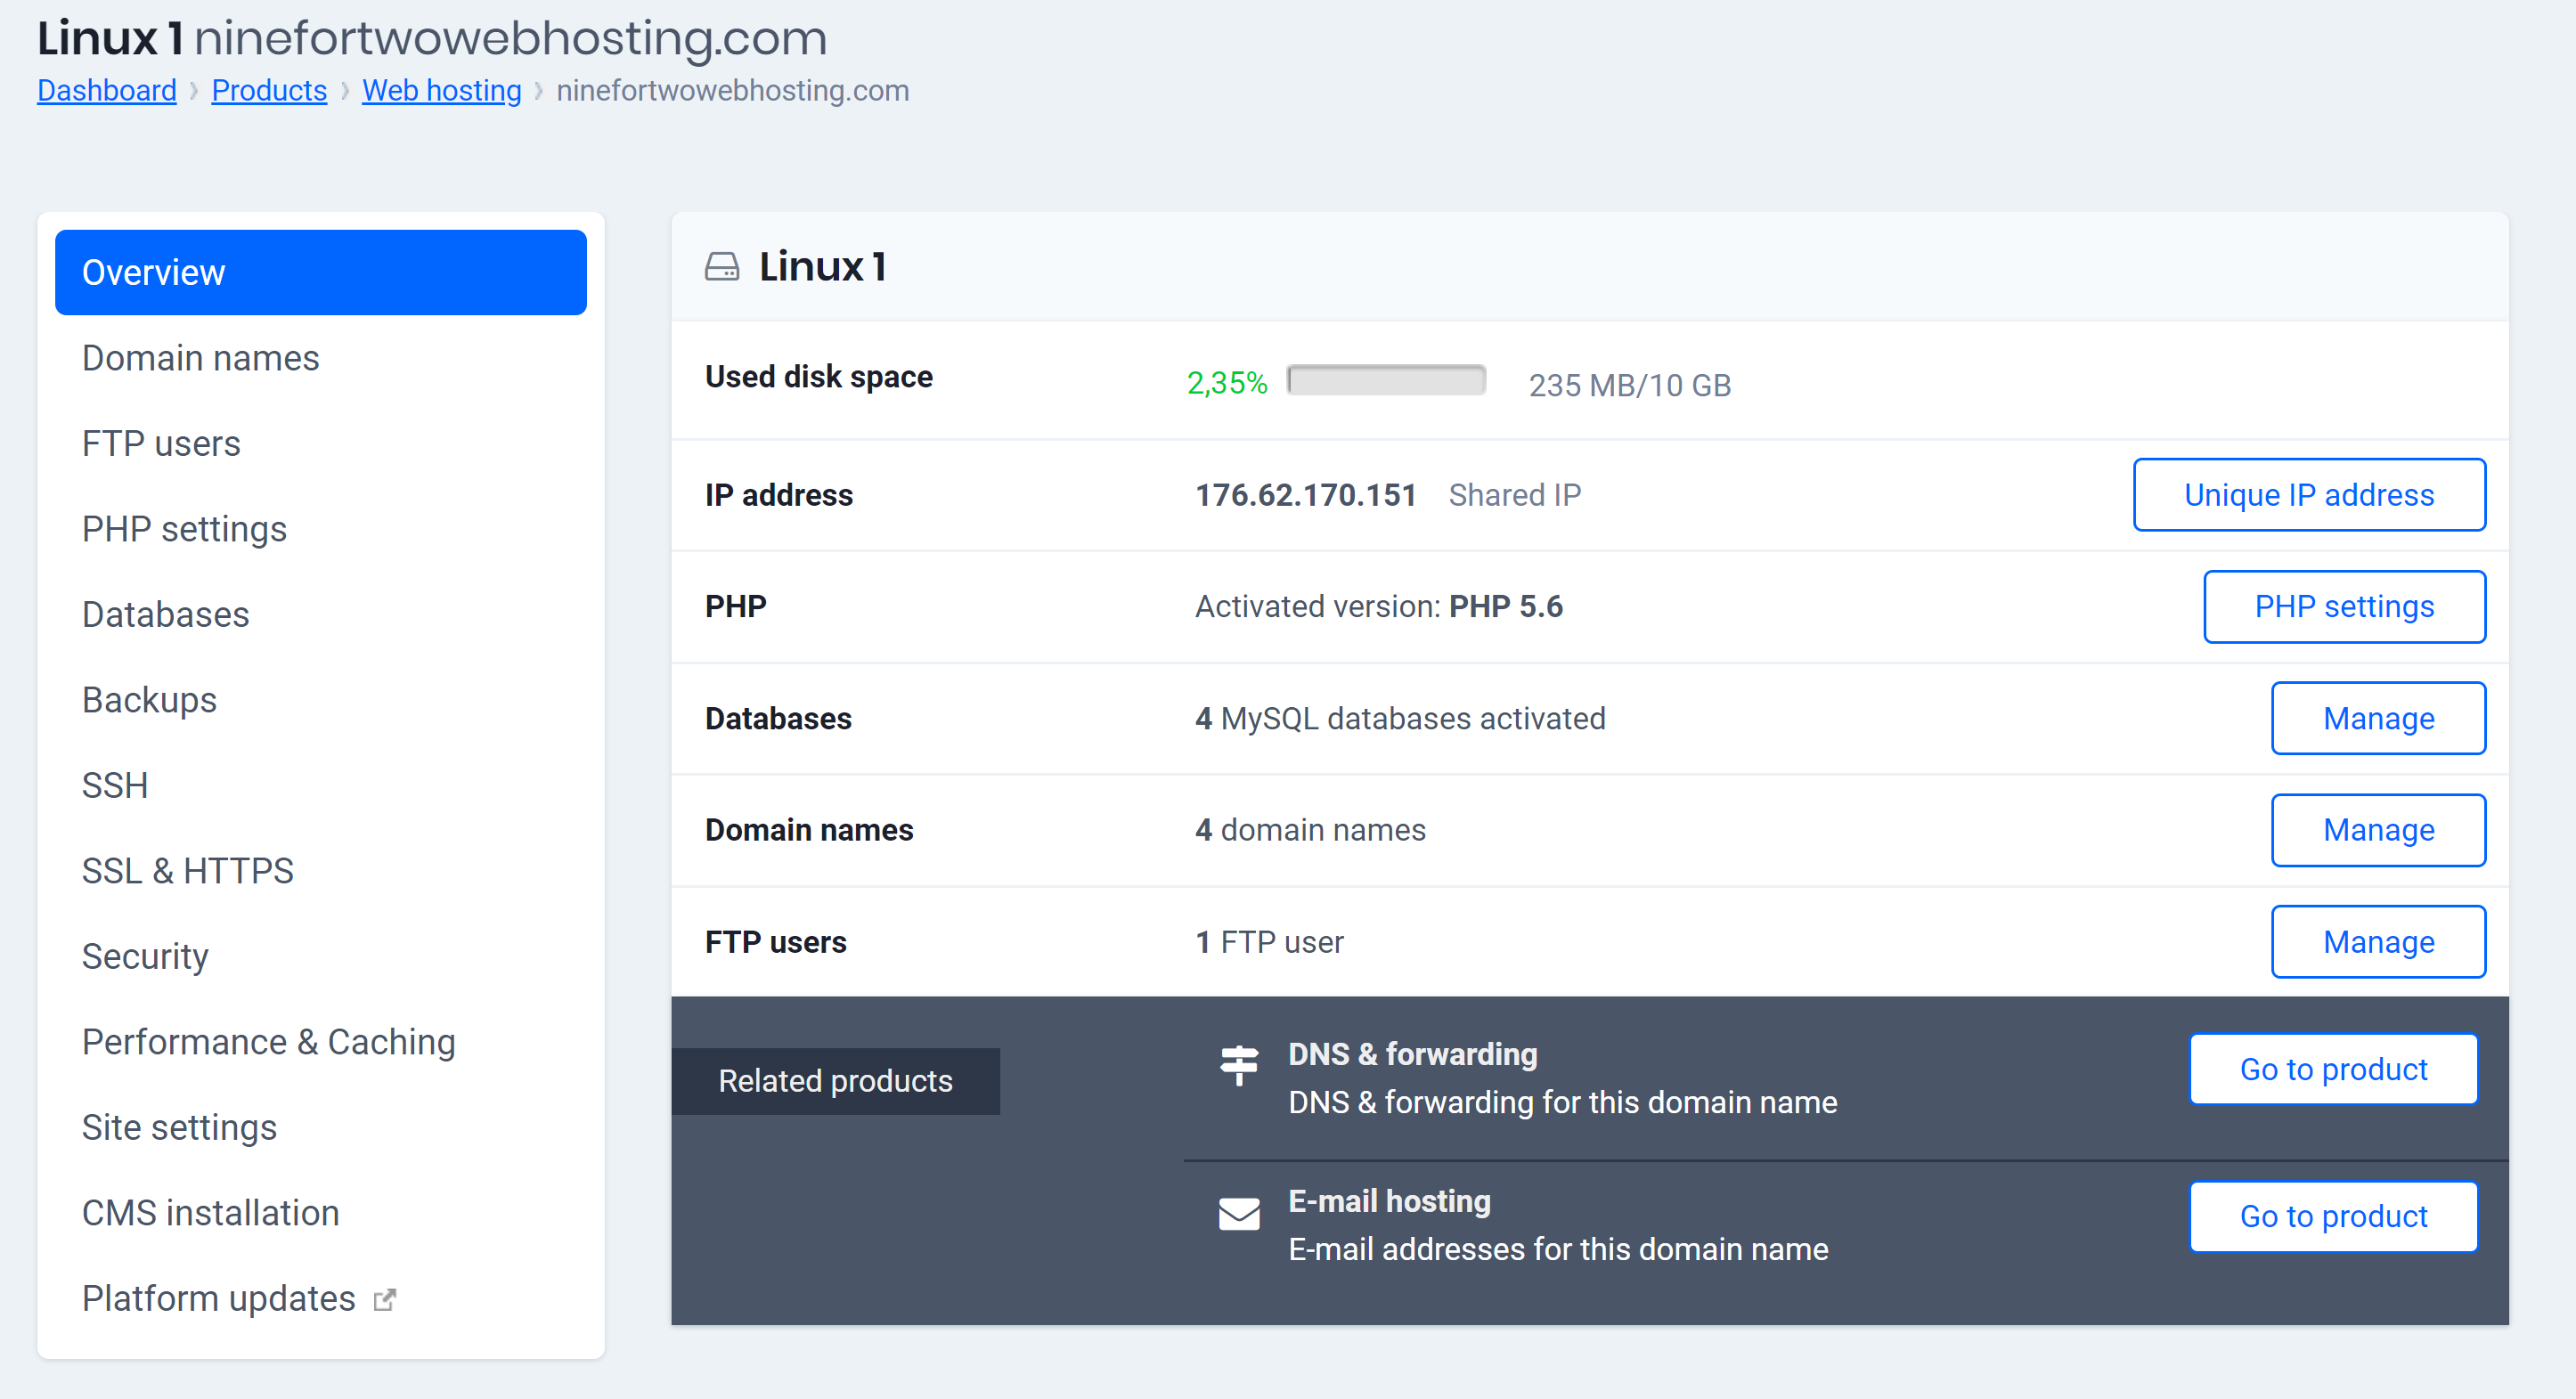
Create the necessary A-records and refer them to the IP address of the hosting package.
Follow these steps in the control panel to find the IP address:
- Go to “Reseller dashboard”
- Choose “Accounts” in the menu on the left and then click on “Manage”.
- You will now see the IP address.
