Adding a contact form or any other form to your website is as simple as a few clicks. You are then able to customize the form to fit your needs.
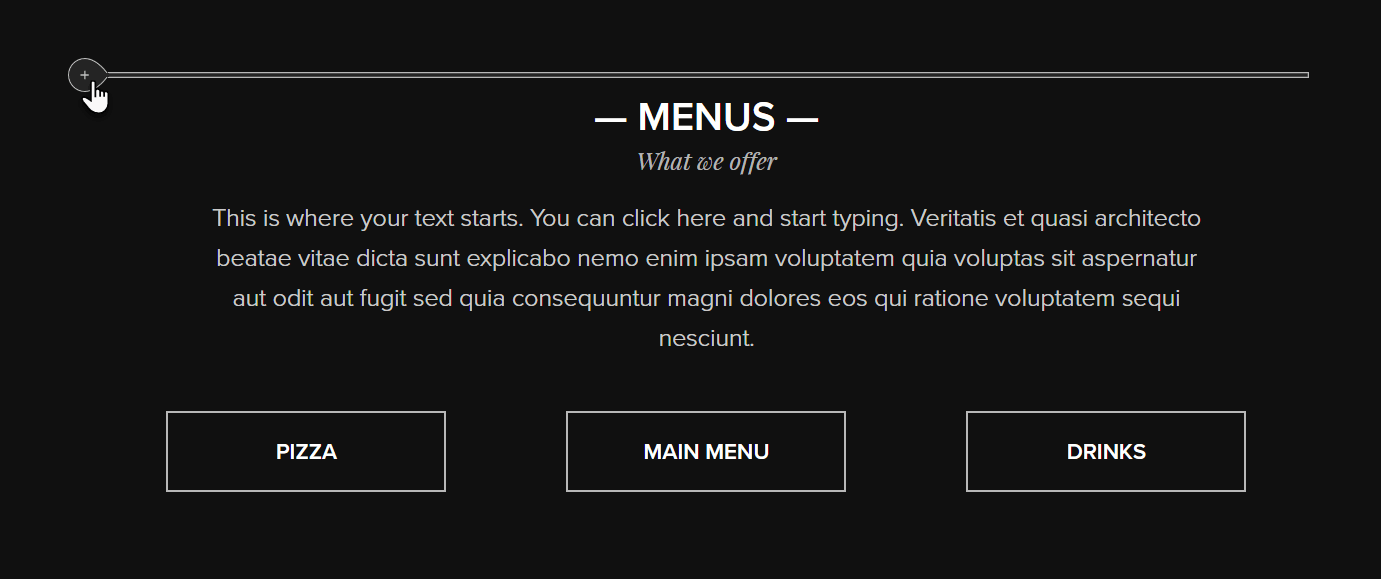
- Position your mouse in the section so that the plus button for adding new content appears.
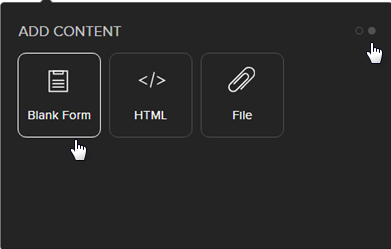
- In the content bubble, click the circle for more options. Then click Blank Form.
How to edit the form
- Add a new field.
Navigate the cursor to the plus button between fields to add a new field.
- Rename field
Click in the field and enter a new name.
- Required field
Click in the field and select Properties. Here, you can make the field required by checking the box.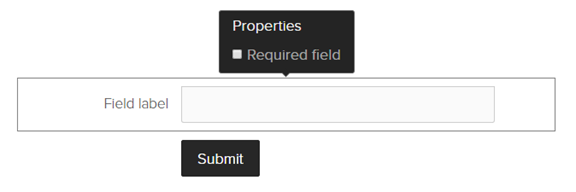
- Action after submitting
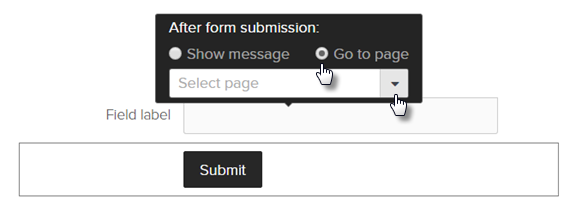
By clicking Submit and then Action after submitting, you will be able to define what will happen when a form is submitted.
- One option is to display a message after the successful submission of a form. To edit the message, click Show message:
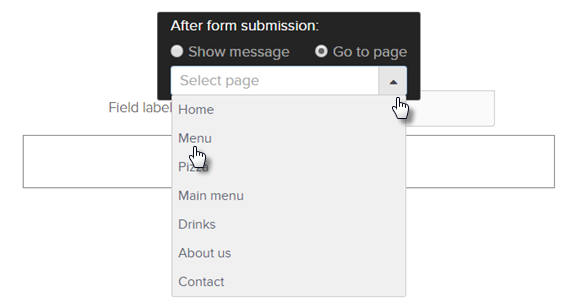
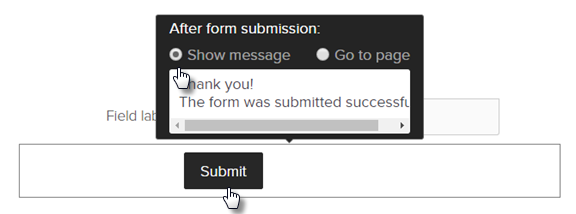 Another option is to send visitors to a thank you page after clicking the submit button. Check Go to page and click the arrow. Select the page you want the visitor to be redirected to. You are also able to enter an external web address in the field Select page.
If you click Contact email, you will be able to enter the email address to which the email notifications will be sent.
If you click Style, you will be able to change the style of the Submit button.
- Delete field
In order to delete a field, click the item and then the recycle bin icon.