SSH is a secure way to connect to your hosting package that offers more options than a regular FTP connection. In this article we explain how to connect via your computer by using Putty (Windows) or Terminal (Mac OS X).
Also read: Make an SSH connection with an SSH key
IN THIS ARTICLE:
Step 1: Search for the command in the control panel
Follow these steps in the control panel:
- Go to “My products”> “Web hosting”> Your domain name.
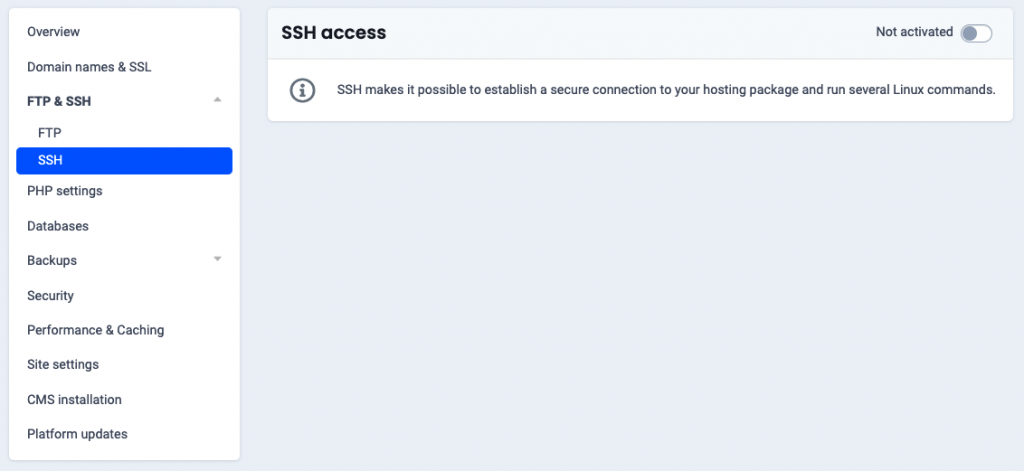
- In the menu on the left you choose “FTP & SSH” > “SSH”.
Don’t see “SSH”? Then your package does not have SSH access. Upgrade to a larger package if you want to use this. - On the right upper corner, switch on SSH so that you can connect.
- You will now see the data to connect to Windows and Mac/Linux (see image).

Step 2: Run the command on your computer
Now that you have the command, you must enter it on your computer to connect via SSH.
- Windows
- MacOS
Follow these steps on your Windows computer:
1. Download and install Putty on your computer.
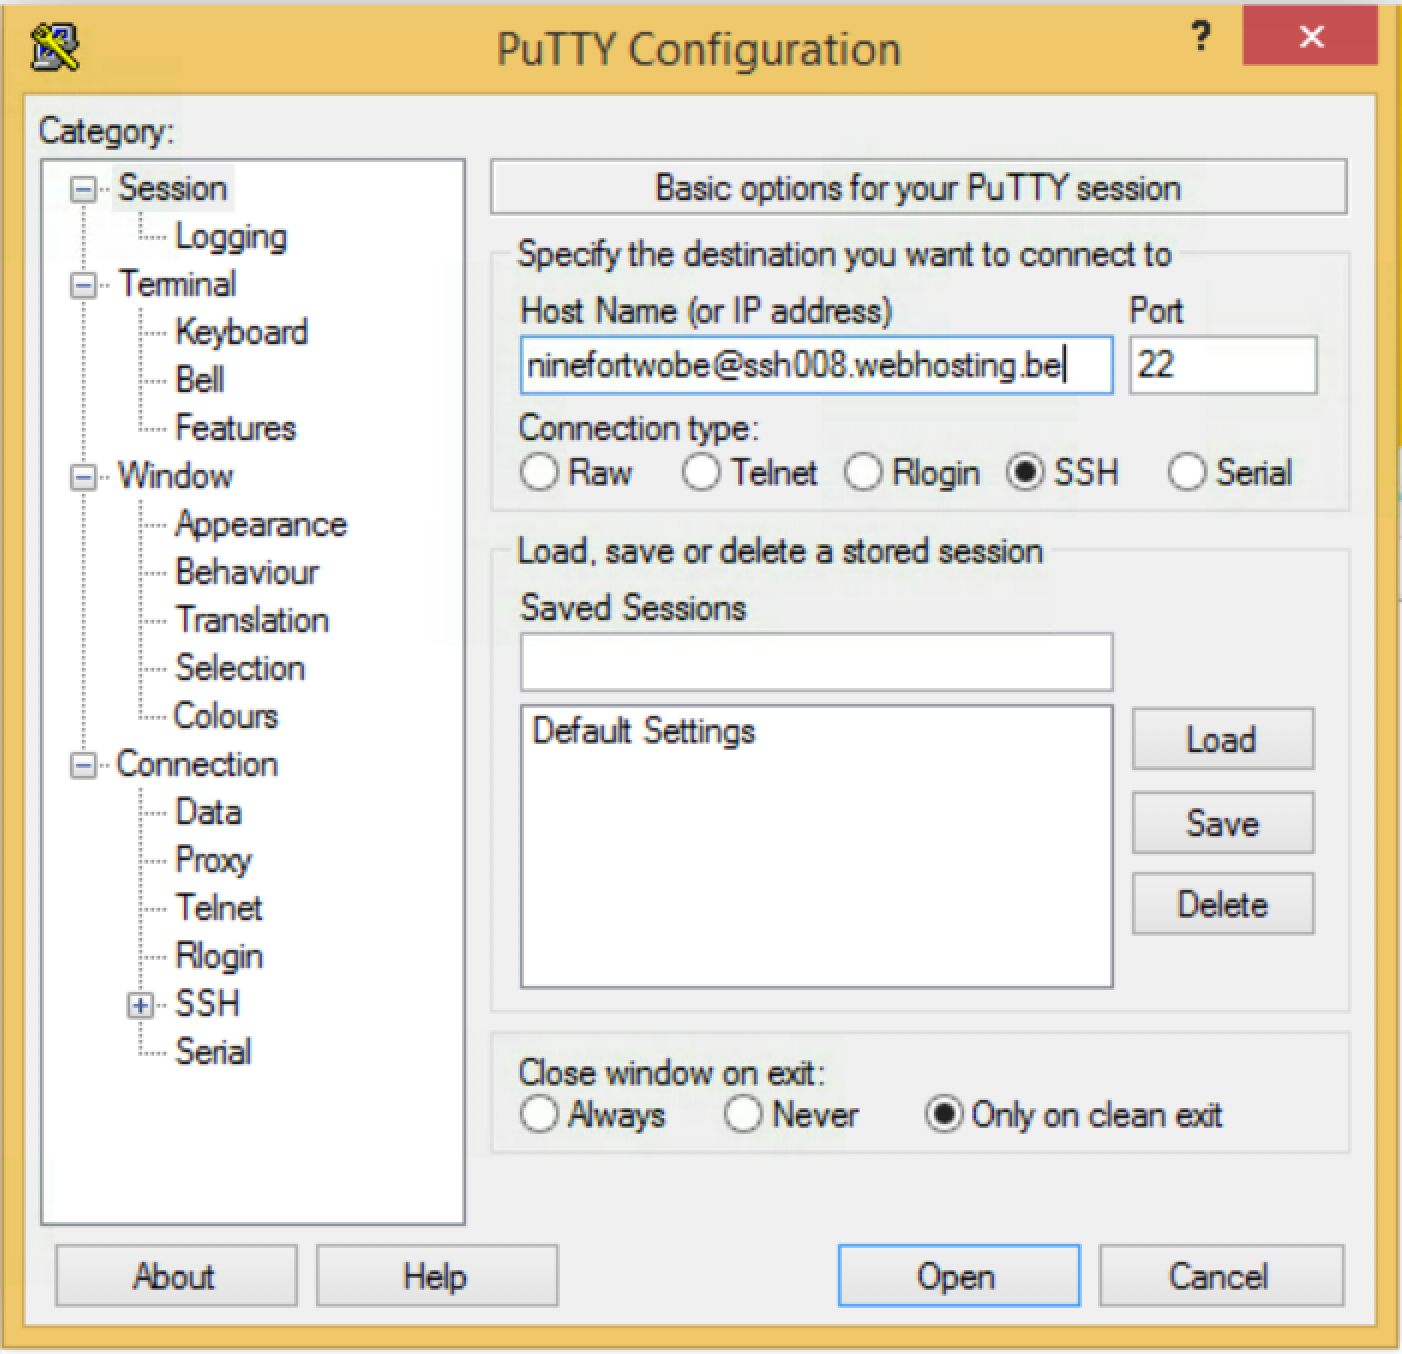
2. Open Putty and click on “Session” in the menu on the left.
3. Enter the command from the control panel and click on “Open” (see image).
4. Enter the password of your primary FTP user. You will then be connected to your web hosting.
Follow these steps In MacOS:
1. Open “Terminal” and enter the command from the control panel.
2. Terminal will ask to connect. Type “yes” and confirm with enter.
3. Enter the password of your primary FTP user. You are connected to your web hosting.